This article is for beginners and assumes some basic knowledge of Python (Django).

Preparing the project for integration with DebugMail
— Setup and data for capturing mail with DebugMail
In conclusion
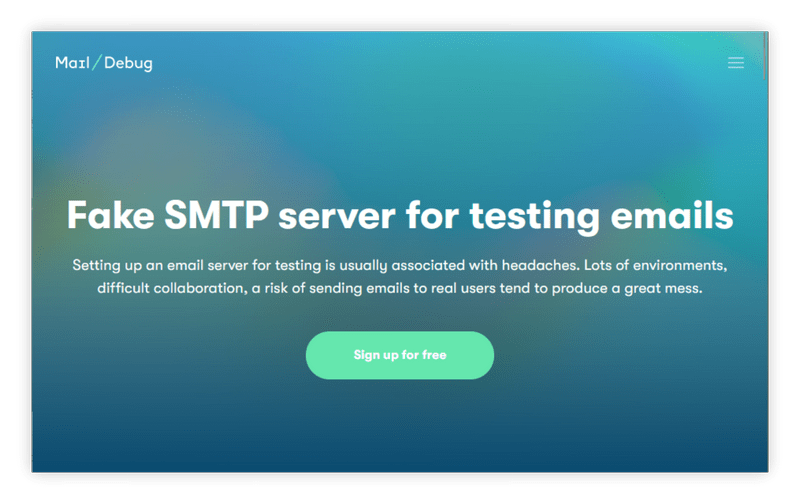
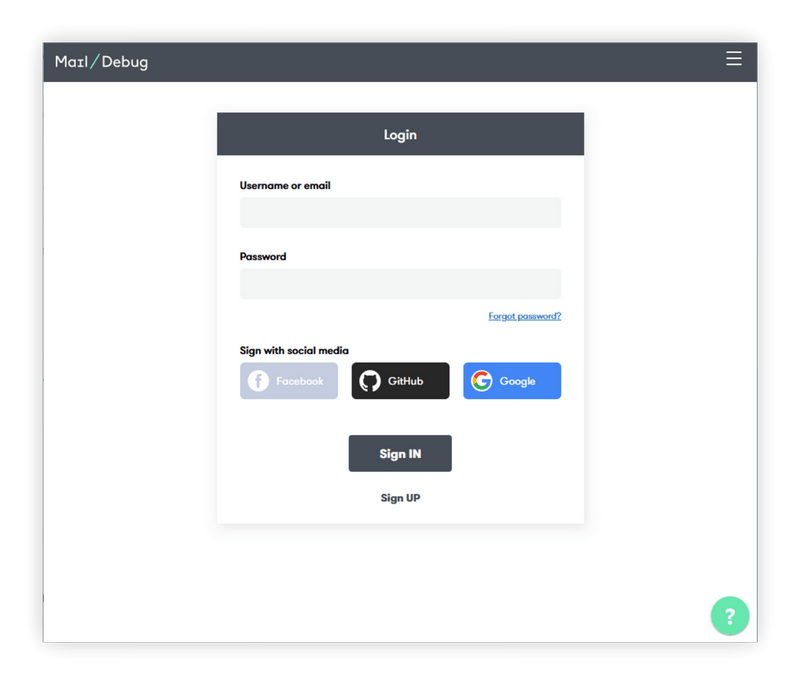
One of the tasks in the software testing process is testing and debugging email functionality. Having a good and reliable tool for this purpose is essential, and that’s where DebugMail comes to the rescue.
DebugMail is a virtual mail server that allows you to test applications and websites without the need to install an SMTP server. To start using it, all you need to do is change the host, port, username and password settings in your mail configuration to match the values provided by the DebugMail service.
More details of the integration steps are described below.
Preparing the project for integration with DebugMail
Step 1. Install the virtual environment of the project:
python -m venv venvStep 2. Activate the virtual environment:
command for Windows
venv\Scripts\activateStep 3. After setting up the virtual environment, let’s proceed with installing Django:
pip install DjangoStep 4. Let’s create a project:
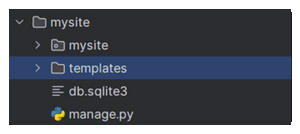
django-admin startproject mysiteStep 5. Create the templates directory in the root of mysite.
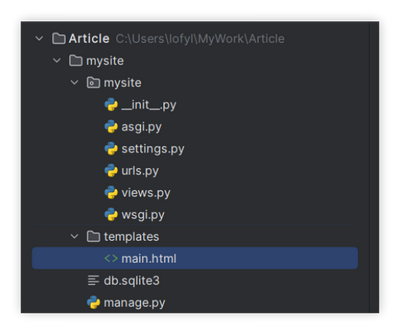
Step 6. Create the main.html file (for now, without any inheritance, just for displaying mail submission).
Step 7. Write the main template for mail submission:
<!DOCTYPE html>
<html>
<head>
<title>Testing email with DebugMail via Django</title>
<link href="https://cdn.jsdelivr.net/npm/bootstrap@5.3.1/dist/css/bootstrap.min.css" rel="stylesheet" integrity="sha384-4bw+/aepP/YC94hEpVNVgiZdgIC5+VKNBQNGCHeKRQN+PtmoHDEXuppvnDJzQIu9" crossorigin="anonymous">
</head>
<body>
<div class="container py-5">
<h1>Testing email with DebugMail via Django</h1>
<br>
<form action="{% url 'main_send_email_view' %}" method="post">
{% csrf_token %}
<div class="mb-3">
<label for="email" class="form-label">Email:</label>
<input type="email" class="form-control" aria-describedby="emailHelp" id="email" name="email" required>
</div>
<br>
<div class="mb-3">
<label class="form-label" for="subject">Subject:</label>
<input class="form-control" type="text" id="subject" name="subject" required>
</div>
<br>
<div class="mb-3">
<label for="exampleFormControlTextarea1" class="form-label">Message:</label>
<textarea class="form-control" id="exampleFormControlTextarea1" name="message" rows="4" cols="50" rows="3" required></textarea>
</div>
<br>
<button type="submit" class="btn btn-primary mb-3">Send</button>
</form>
</div>
<script src="https://cdn.jsdelivr.net/npm/bootstrap@5.3.1/dist/js/bootstrap.bundle.min.js" integrity="sha384-HwwvtgBNo3bZJJLYd8oVXjrBZt8cqVSpeBNS5n7C8IVInixGAoxmnlMuBnhbgrkm" crossorigin="anonymous"></script>
</body>
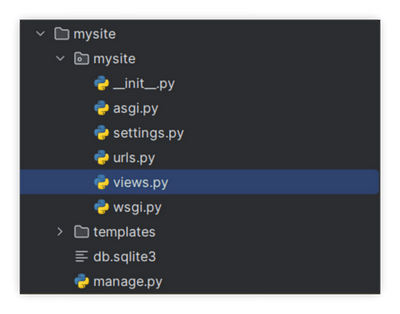
</html>Step 8. Create the views.py file in the main directory of mysite, where our urls.py is located.
Step 9. Write the necessary code in the views.py file to display the page:
from django.shortcuts import render
from django.core.mail import send_mail
from django.http import HttpResponse

def main_send_email_view(request):
    if request.method == 'POST':
        email = request.POST.get('email')
        subject = request.POST.get('subject')
        message = request.POST.get('message')

        # Here you can add additional logic for data processing

        try:
            send_mail(subject, message, 'your_email@example.com', [email])
            return HttpResponse('Email successfully sent!')
        except Exception as e:
            return HttpResponse(f'Oops! Something went wrong: {str(e)}')

    return render(request, 'main.html')
Step 10. Add the required path in urls.py file.
from django.contrib import admin
from django.urls import path
from . import views

urlpatterns = [
    path('admin/', admin.site.urls),
    path('', views.main_send_email_view, name="main_send_email_view"),
]
Step 11. Customize the settings.py file to output templates.
import os

TEMPLATES = [
    {
        'BACKEND': 'django.template.backends.django.DjangoTemplates',
        'DIRS': [os.path.join(BASE_DIR, 'templates')],
        'APP_DIRS': True,
        'OPTIONS': {
            'context_processors': [
                'django.template.context_processors.debug',
                'django.template.context_processors.request',
                'django.contrib.auth.context_processors.auth',
                'django.contrib.messages.context_processors.messages',
            ],
        },
    },
]
Step 12. Copy the snippet from DebugMail with the necessary details and paste it at the end of settings.py.
Setup and data for capturing mail with DebugMail
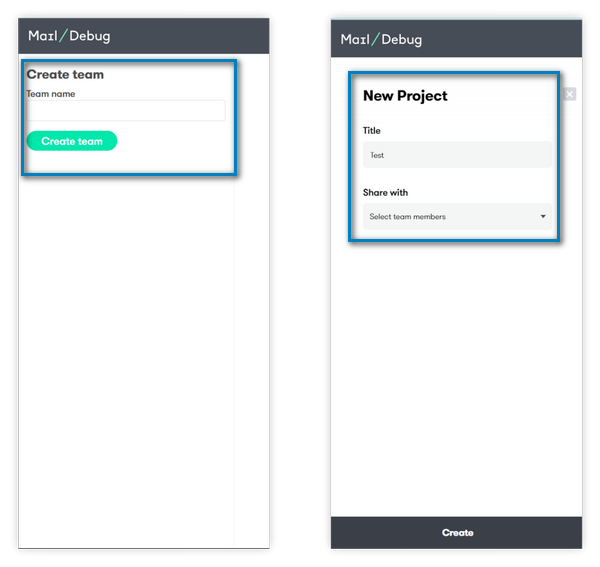
Firstly, let’s go to DebugMail first and create an account.
Secondly, create a team and create a project for that team. The project will display test emails from your Python project.
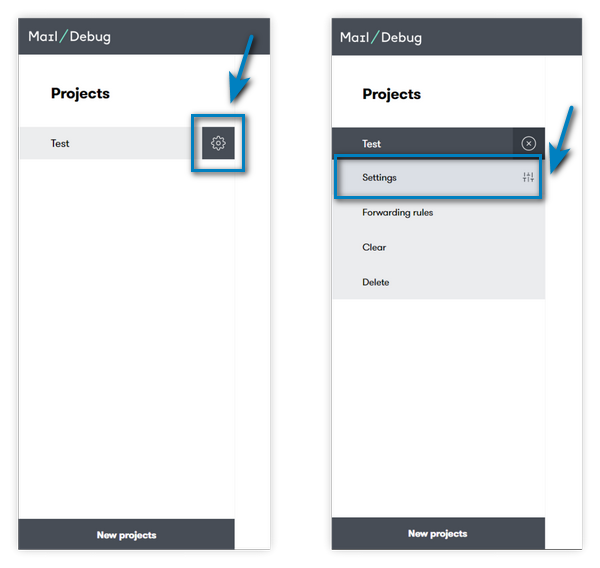
Thirdly, in the created project, open the settings and copy the SMTP data for connecting to the staging project.
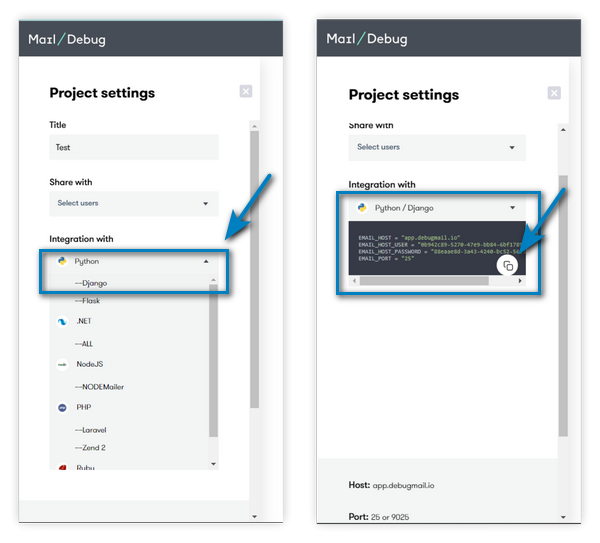
Copy a similar snippet (with individually generated username and password) to a convenient location of your choice:
EMAIL_HOST = "app.debugmail.io"
EMAIL_HOST_USER = "0b942c89-5270-47e9-bb84-6bf178951feb"
EMAIL_HOST_PASSWORD = "88eaae8d-3a43-4240-bc52-56e321739f0b"
EMAIL_PORT = "25"
Scrolling down below the project settings page, you can find the SMTP credentials.
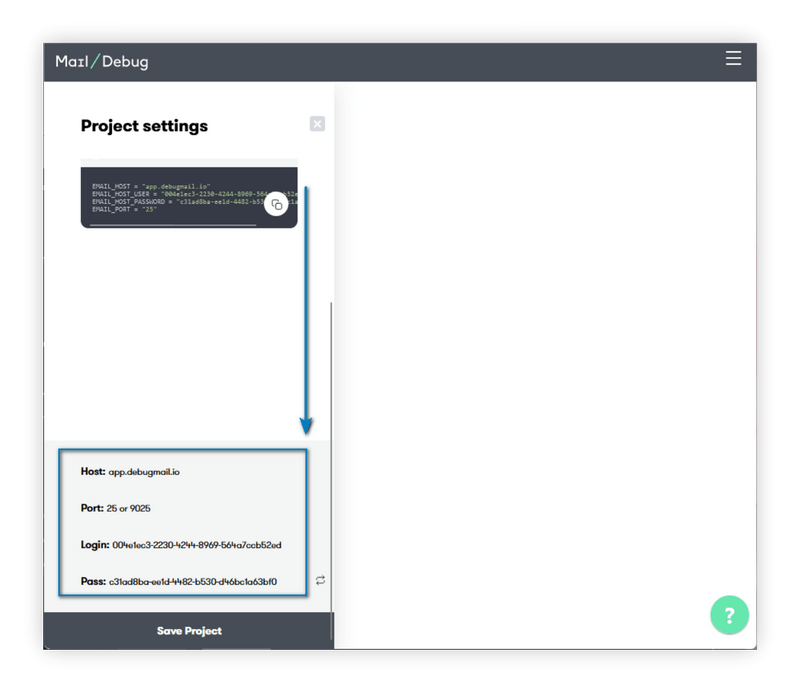
Take these credentials and paste them into the appropriate fields in the code:
# EMAIL
EMAIL_HOST = "app.debugmail.io"
EMAIL_HOST_USER = ""
EMAIL_HOST_PASSWORD = ""
EMAIL_PORT = ""
Step 13. Navigate to mysite in the console:
cd mysiteStep 14. Run the project:
python manage.py runserverStep 15. After that, go to http://127.0.0.1:8000/. And test it out!

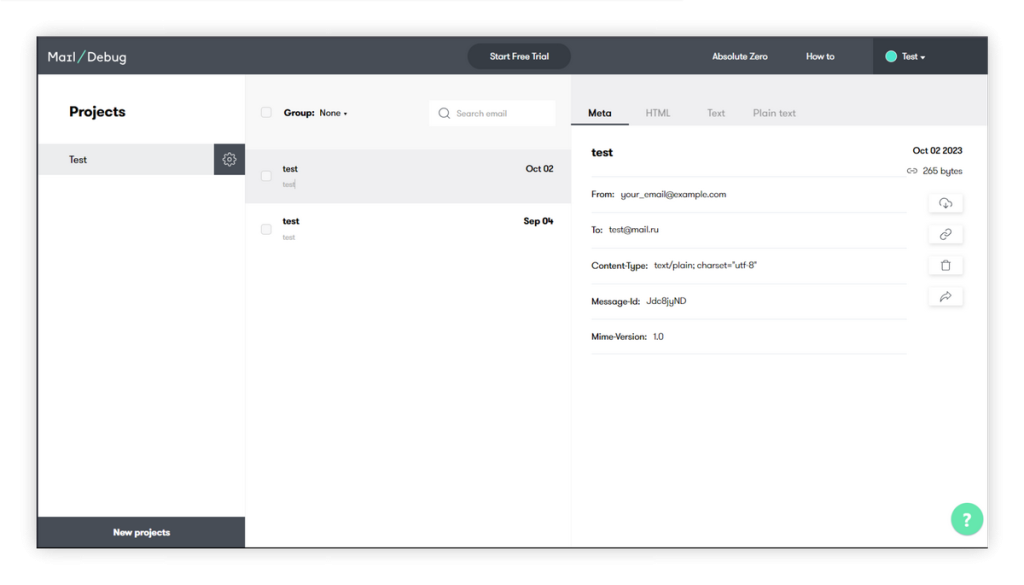
Step 16. Check the results.
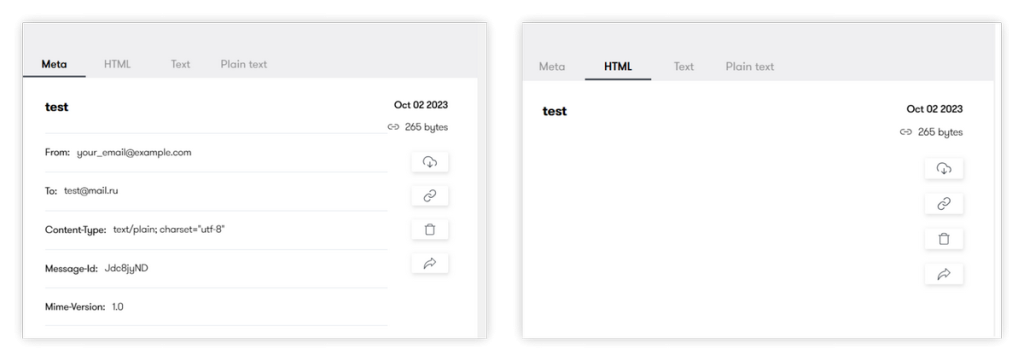
Finally, we have done all the steps. And now is the time to check the results. If you check your DebugMail project, you have received the email successfully as below.
In conclusion
I hope this guide has helped you successfully integrate DebugMail into your project, making it easier to test functionality related to sending email. If you have any questions or need help with integration, just email us. We are always ready to help!
PS. If you need more information to compare DebugMail with other popular email services, we recommend checking out our blog articles on DebugMail vs. Google SMTP and DebugMail vs. Yahoo Mail SMTP.


